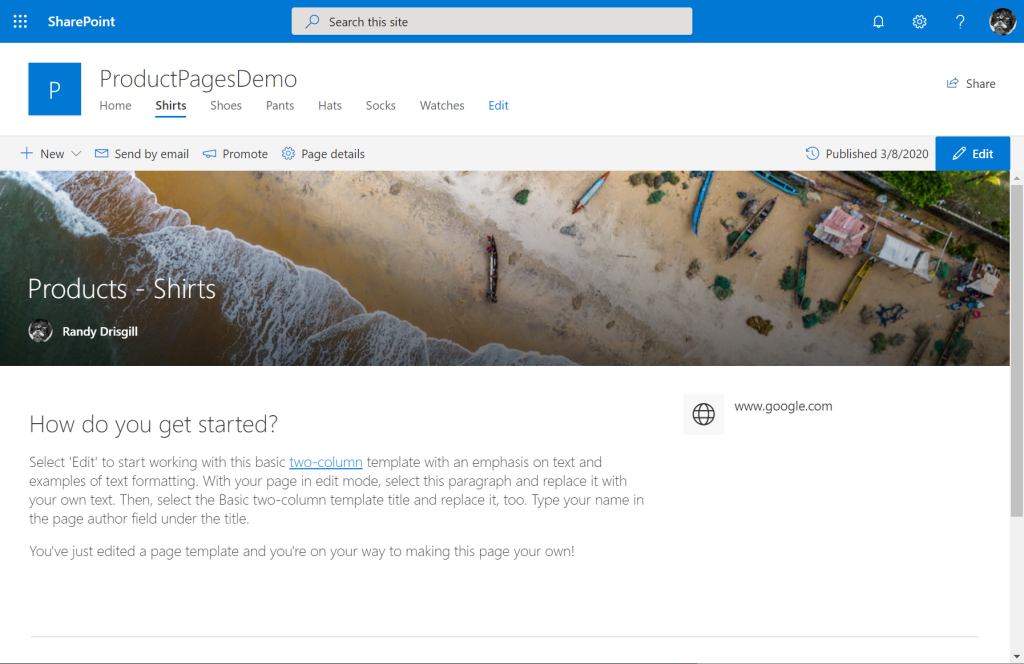
I recently needed to rapidly build out a SharePoint Online Communication Site with a large number of similar pages to match a pre-defined product hierarchy. I could have manually created the pages but given the amount of time it would take and the repeatable nature of the activity I thought I would look into using PowerShell to loop through a CSV file and automatically create all the pages, give them the appropriate page title, publish the pages and add them to the Site navigation.
The following post will walk you thru these steps:
- Create a Page Template in SharePoint Online using the web interface
- Create CSV file with columns for FileName, PageTitle, and NavTitle
- Add the Patterns and Practices (PnP) PowerShell modules and load my SharePoint site in PowerShell
- Use PowerShell to loop over the CSV and…
- Save a new Page based on the FileName from CSV
- Set that Page’s Title to the PageTitle from CSV and Publish the Page
- Add the page to the site navigation using the NavTitle from CSV
So, let’s walk through these steps:
1. Create Page Template
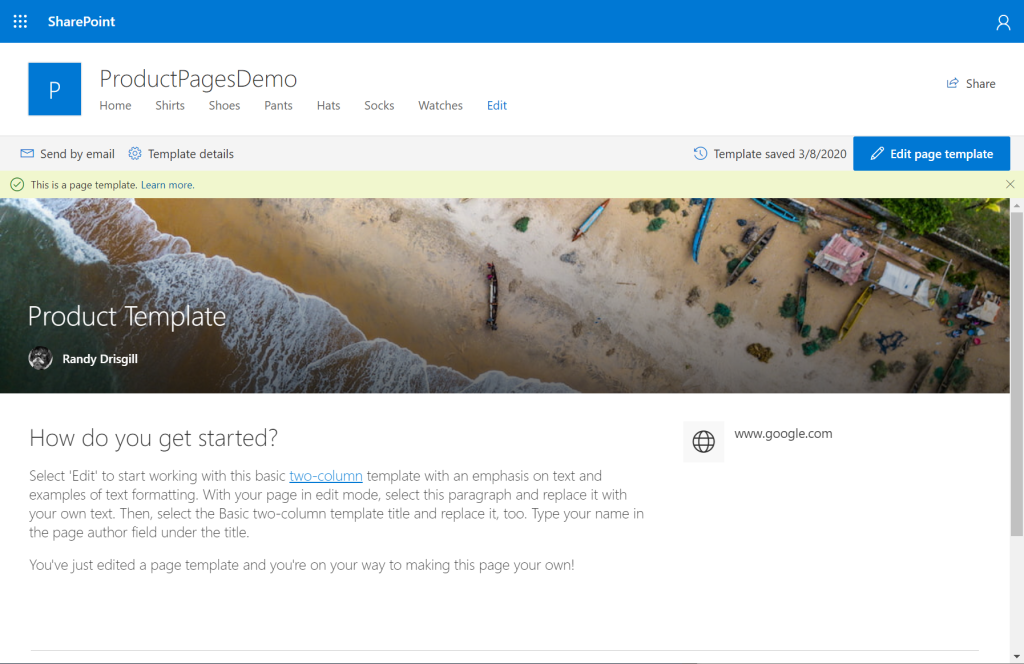
For what its worth you could use PnP PowerShell to create a page template from an existing page, but I’m a visual guy so I simply created a page template in a SharePoint Online Communications Site using the following information:
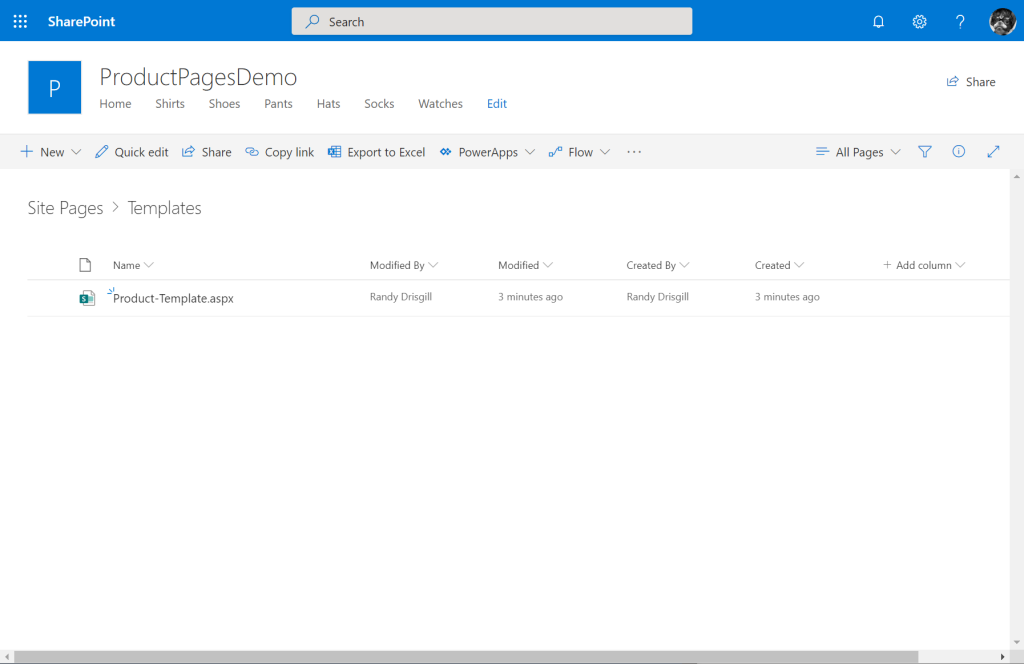
For this example, I made a page that had some default text with page section and a selected web part and named the template Product Template. After creating the page template, you can see what file is created by navigating to Site contents > Site Pages > Templates. In my case the file that was created was called Product-Template.aspx.
2. Create the CSV File
In my case, I decided that I’d want to have slightly different navigation wording than the title on the page as well as the filename created in SharePoint. I created a CSV file named Products.csv with the following format:
NavTitle,PageTitle,FileName
Shirts,Products - Shirts,product-shirts
Shoes,Products - Shoes,product-shoes
Pants,Products - Pants,product-pants
Hats,Products - Hats,product-hats
Socks,Products - Socks,product-socks
Watches,Products - Watches,product-watches
3. Add the Patterns and Practices (PnP) PowerShell modules and load the SharePoint site in PowerShell
I always open Windows PowerShell by right-clicking on it and Running as Administrator. Once open, run this line to install the PnP PowerShell:
Install-Module SharePointPnPPowerShellOnline
If you already have PnP installed and it has been a while you should update it with:
Update-Module SharePointPnPPowerShell*
Lastly, connect to your SharePoint site (an authentication prompt pop up):
Connect-PnPOnline -Url "https://mytenant.sharepoint.com/sites/SiteName"
Steps 4 – 7
For the rest of the steps you can read the comments in the following PowerShell which you can paste and run directly in PowerShell. Be sure to update this code to reflect the correct location of your CSV file and your actual SharePoint Site name:
# load the CSV file into a variable for looping
$CSV = import-csv -Path 'C:\Users\RD\Desktop\Products.csv'

# set the path to my SharePoint sites Site Pages folder
$sitePath = '/sites/SiteName/SitePages/'

# load the page template we created earlier
$template = Get-PnPClientSidePage -Identity "Templates/Product-Template"

# loop over all the rows in the CSV file
foreach ($row in $CSV) {

   # set the full file name from the FileTitle in the CSV and add .aspx
   $fullFileName = $row.FileName + '.aspx'

   # create a variable for the full path to the file
   $fileURL = $sitePath + $fullFileName

   # save a new SharePoint Page based on the Page Template we loaded earlier
   $template.Save($fullFileName)

   # run Set-PnPClientSidePage using the identity of the file we just saved to set the title and
   # publish the page which is required before creating a navigation node
   Set-PnPClientSidePage -Identity $fullFileName -Title $row.PageTitle -Publish

   # add the page to the QuickLaunch navigation which is at the top of Communication sites
   $nav = Add-PnPNavigationNode -Title $row.NavTitle -Url $fileURL -Location "QuickLaunch"
}
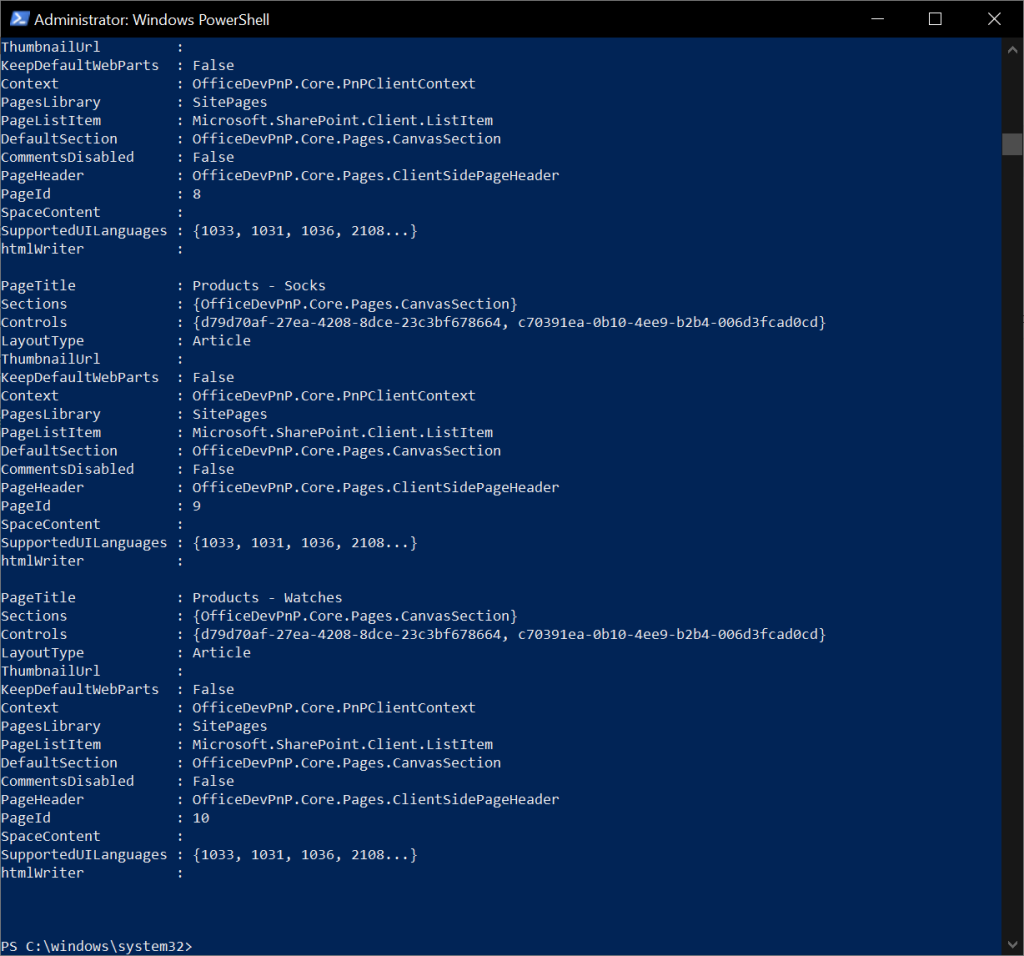
Once you run that in PowerShell it will take a bit to loop thru all the rows in the CSV and for each row if it worked successfully you will see output like the following:
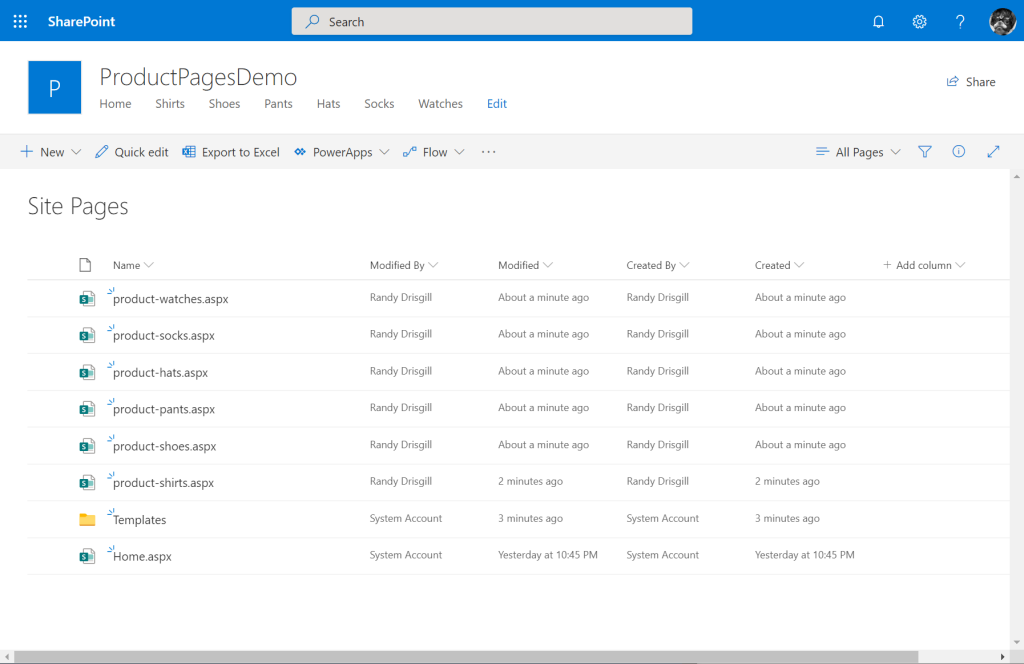
Now when you reload your SharePoint site, you should see multiple page created in the Site Pages folder as well as each page being added to the top navigation:
