Ok, its not really a branding tip, but I’m on a roll here. In SharePoint 2010 if you want to setup your site to allow anonymous visitors, the process is much like it is in SharePoint 2007 except that the ribbon is now part of of the process. While I have really gotten used to the ribbon, this option I find particularly confusing. Just like in SharePoint 2007 the process begins in Central Administration, either you set the web application to Allow Anonymous access in the initial web application creation screen OR you need to set it afterward. If you are going to set it after, click on Manage Web Applications and select a web application from the list and take a look at the ribbon:
You might be inclined to click Anonymous Policy as I was initially but this does NOT allow you to turn on Anonymous access. Instead click Authentication Providers:
From this menu you select an Authentication Provider:
The from the next menu you can check Enable anonymous access:
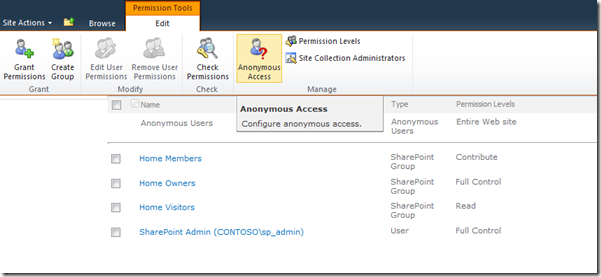
After you click save, the web application will allow Anonymous access to be set, but you have to set this from the actual web application. So now, navigate to the top level site collection for the web application and click Site Actions > Site Settings > Site Permissions. From that menu you can click Anonymous Access:
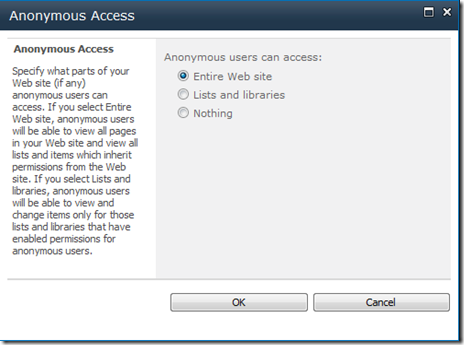
From there select Entire Web Site and click OK:
That’s all you have to do, now the site will be available for browsing by anyone. Really only the first step is confusing compared to SharePoint 2007.


